Create Your First Rule
Now that we've created our Team and linked an AWS Account, we should setup our first Rule!
- Navigate to the Rules index, by clicking on
Rulesin the navbar - You now have the choice to create a rule from a preconfigured template (detailed below), or create one from scratch
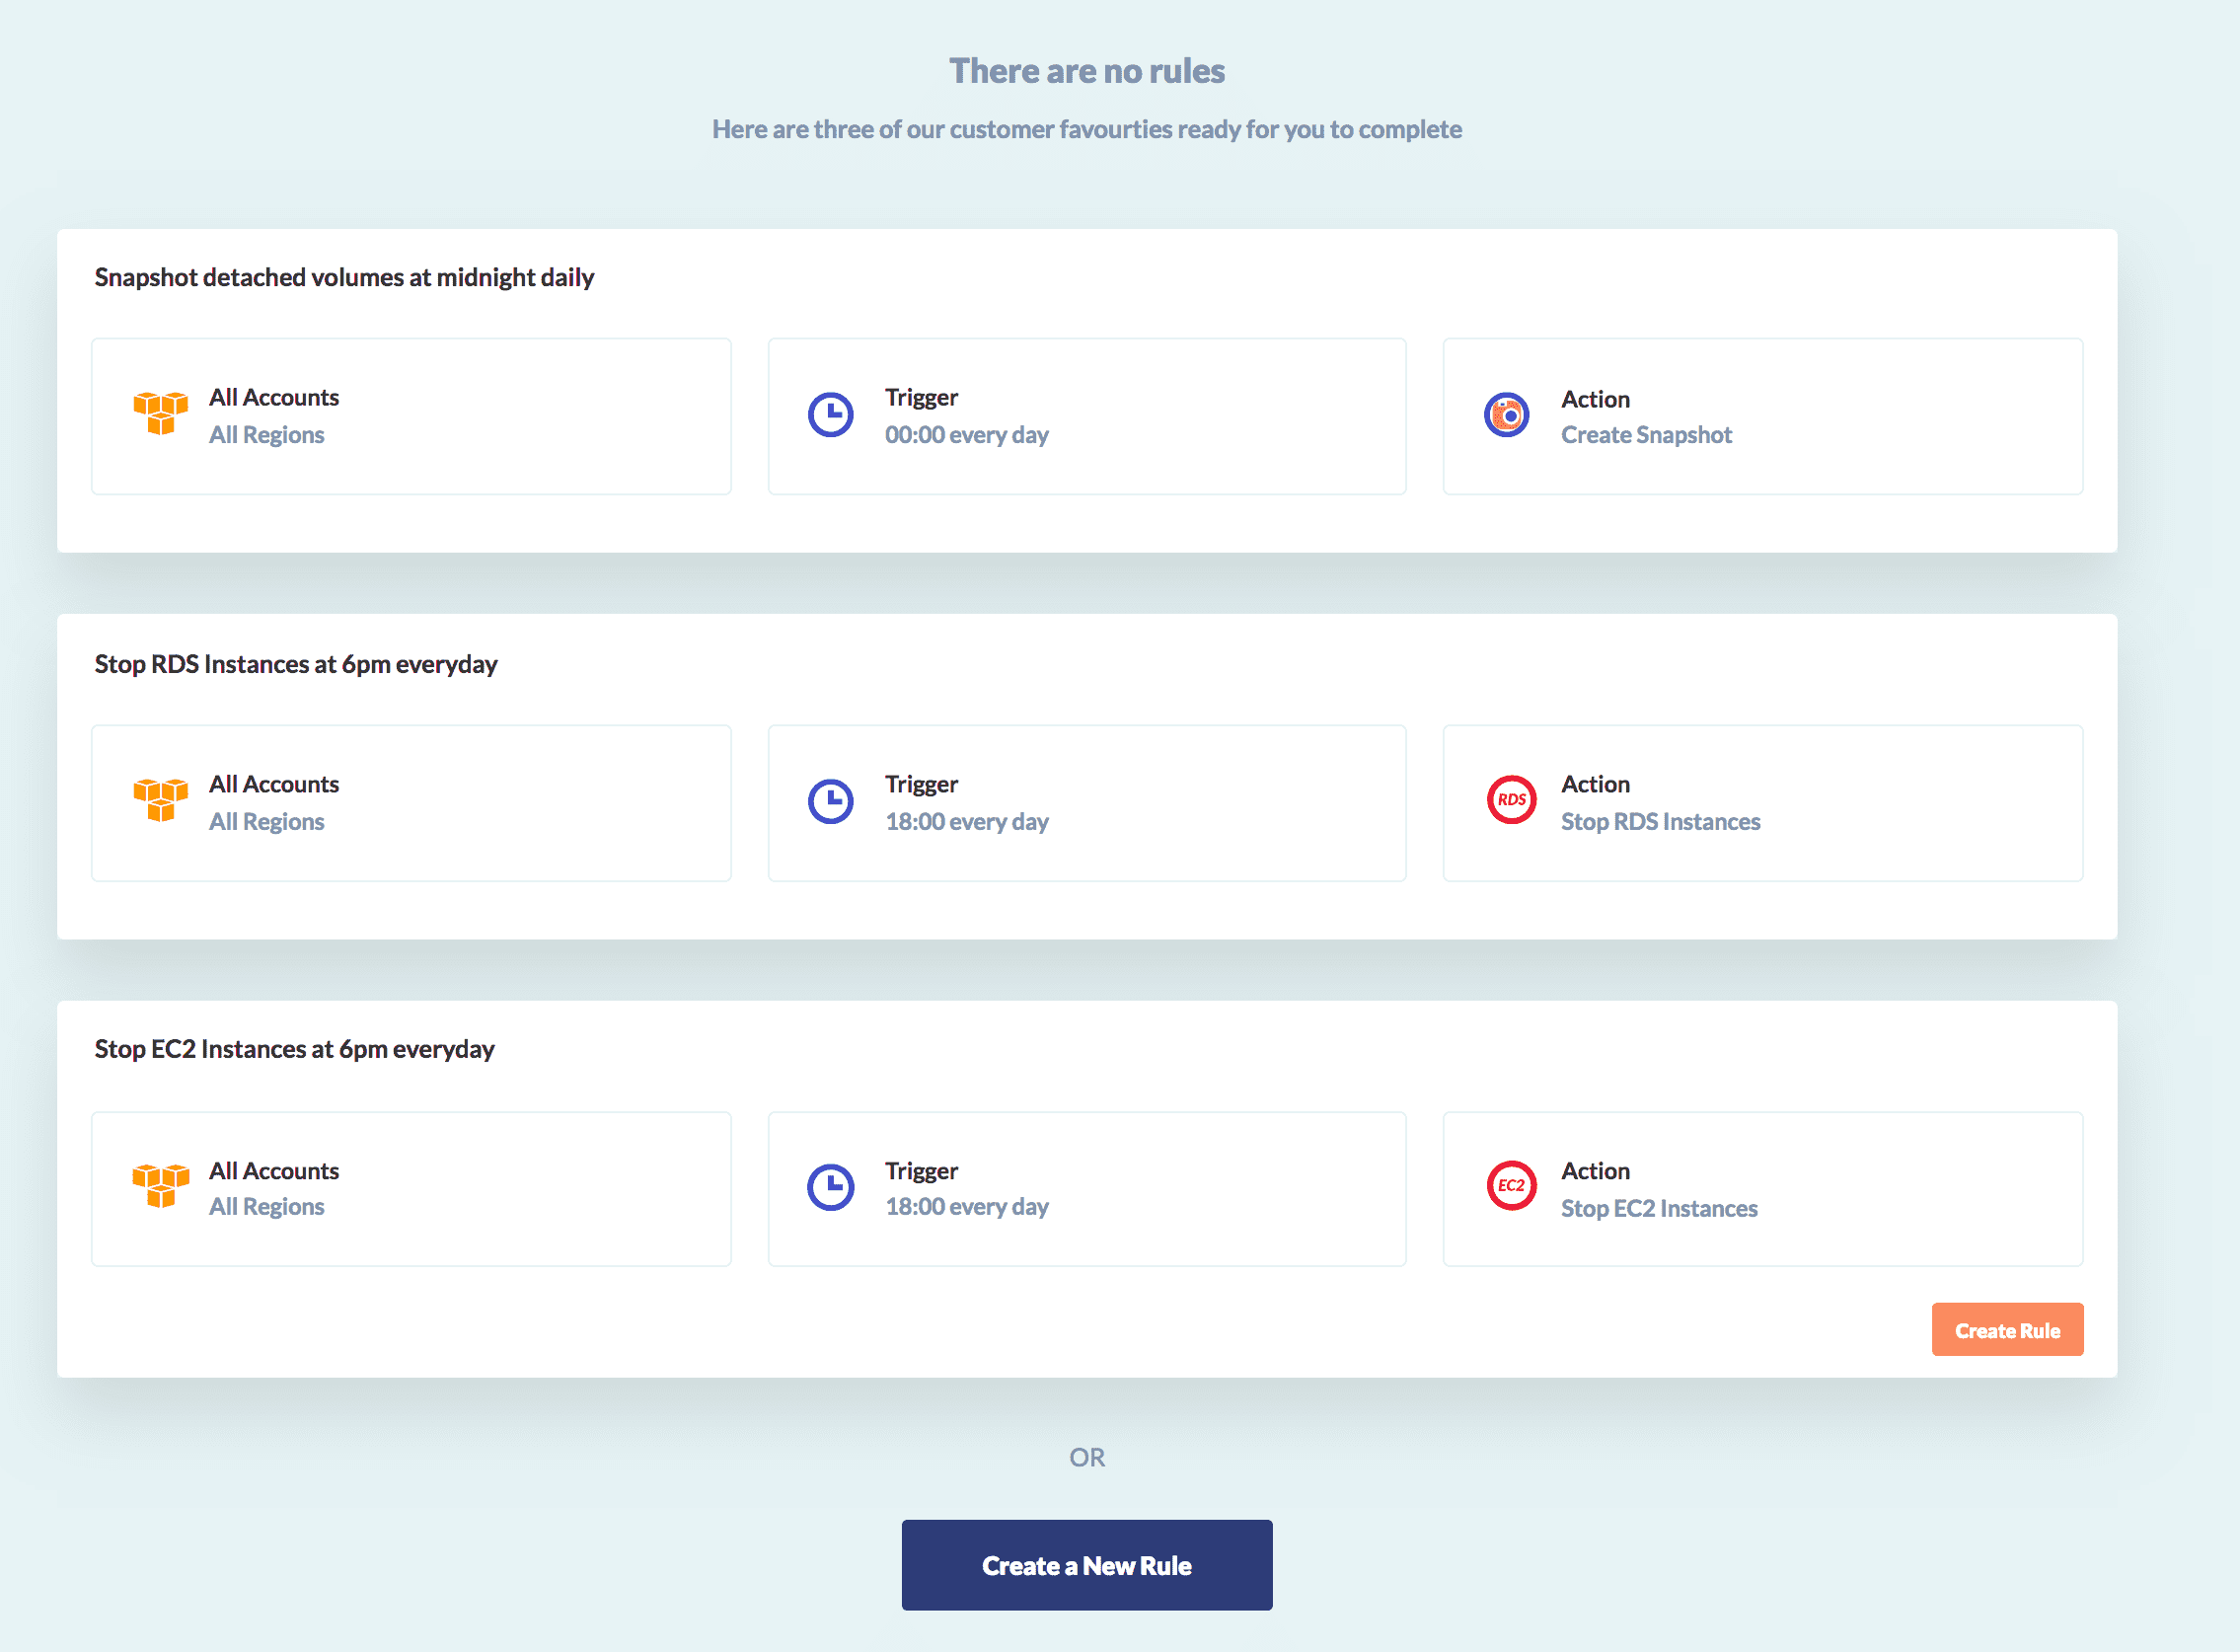
Create Sample Rule
- Click on one of the "Create Rule" buttons on the sample Rules outlined below. To see the button, hover over the Rule you want to enable.

- Note that the "Action" listed is marked as
Incomplete. To resolve this, click on the Action to select the missing details not set by the sample Rule.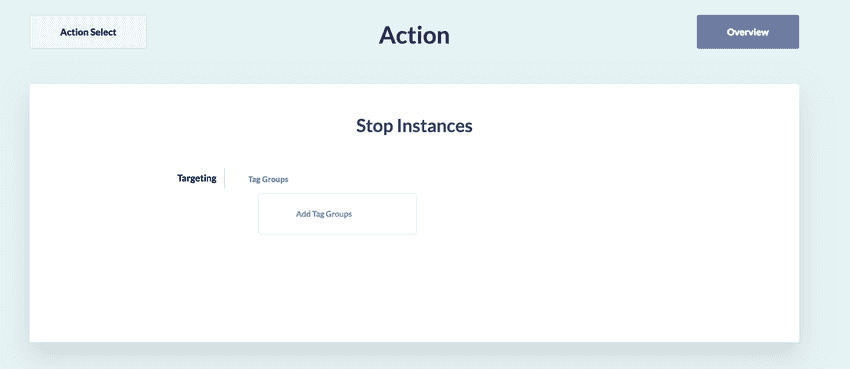
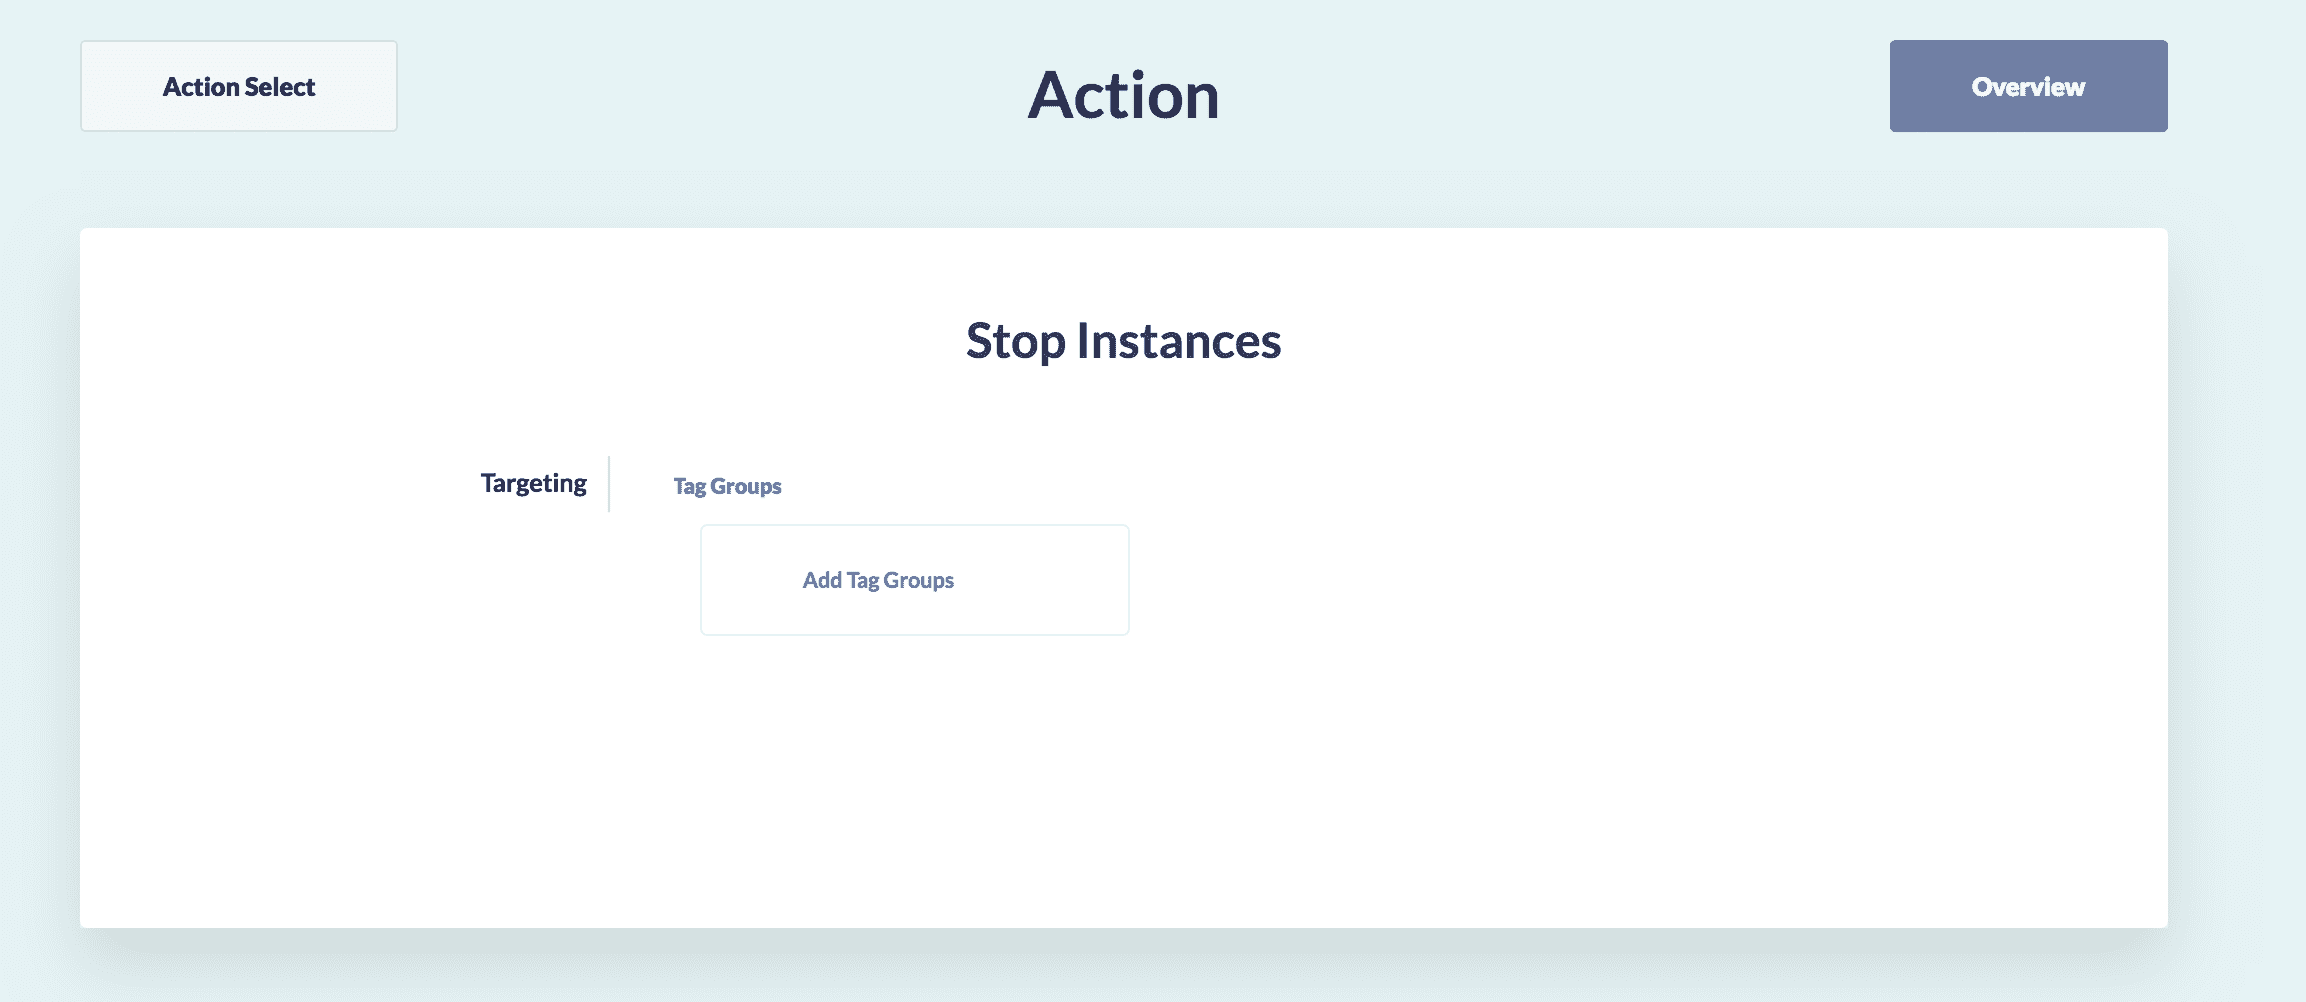
- Click on "Add Tag Groups". We use Tag Groups on many of Actions, to serve as a mechanism for targeting resources by tag at either a high or low level of granularity.
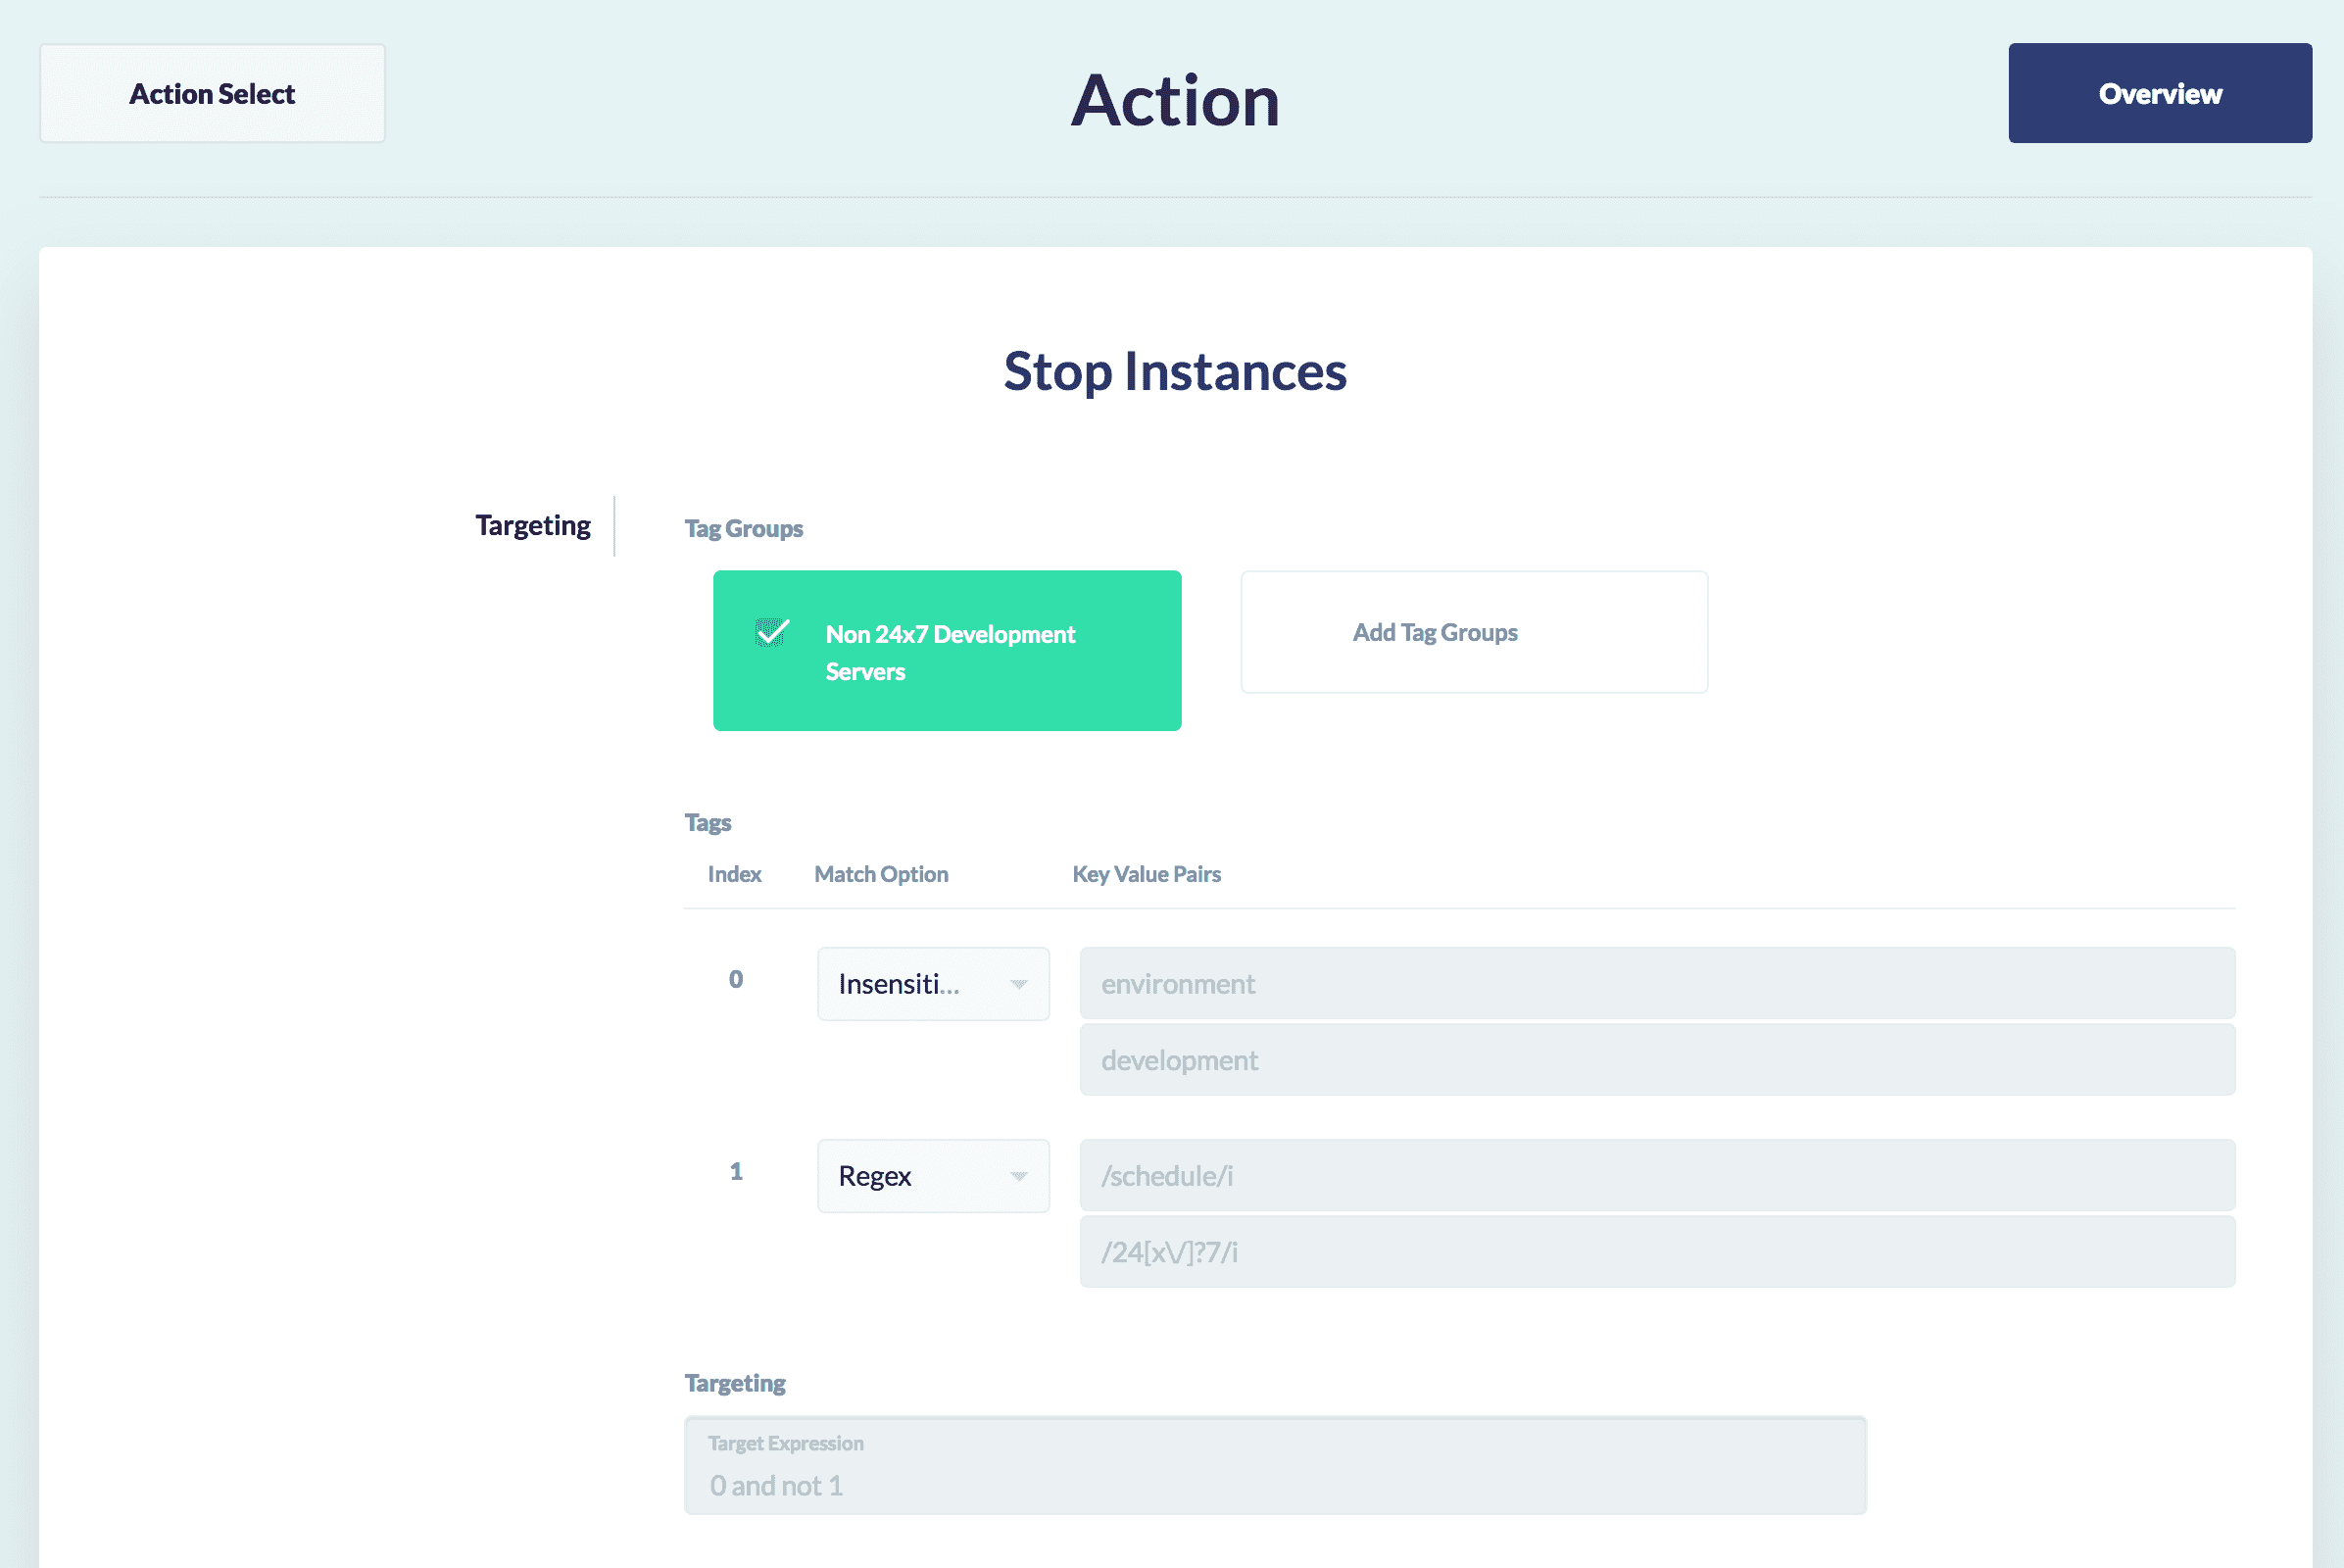
- This has launched a new browser tab in which we can create a Tag Group. When going back to our previous tab after creating the Tag Group, we will be able to see our new Tag Group. Tag Groups allow us to target our resources based on resource Tags that already exist in our cloud envionments. They allow you to specify how you want GorillaStack to target resources in your rule. In this case, we will only target AWS Instances in a
runningstate which have a tag with keyenvironmentand valuedevelopmentmatching in a case insensitive fashion, and no tag with a key matchingscheduleand value matching24x7,24X7,24/7or247. More on creating a tag group. - Click on "Overview" in the top right hand corner.

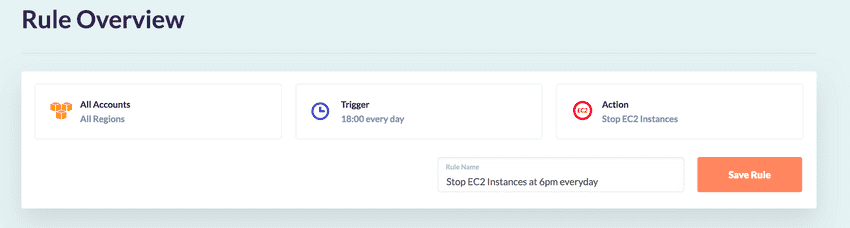
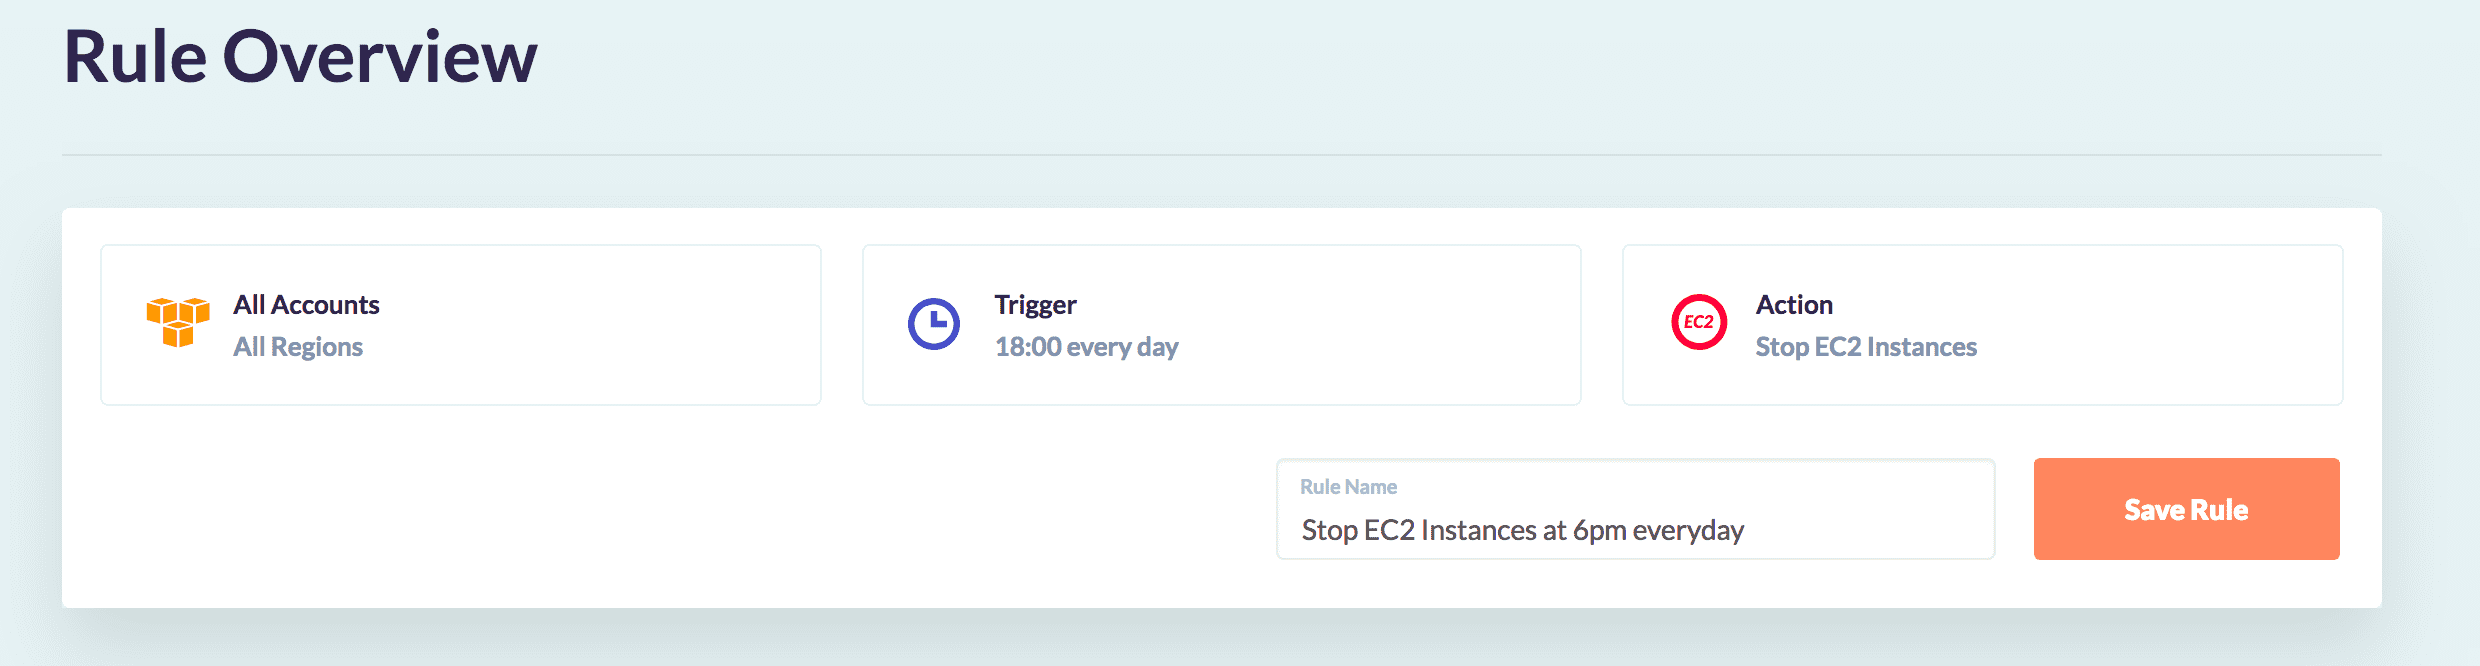
- Name your rule and click "Save Rule".