Linking Your First AWS Account
AWS Accounts are linked to GorillaStack by deploying a CloudFormation template. When deployed this CloudFormation template:
- Creates an IAM role for cross-account access. GorillaStack assumes this role when collecting data and executing actions and the role's IAM permissions control GorillaStack's level of privilege
- Creates a Lambda Function which has the sole responsibility of posting back to GorillaStack on successful or unsuccessful stack creation.
More on Understanding the CloudFormation Template
1. Clicking Get Started
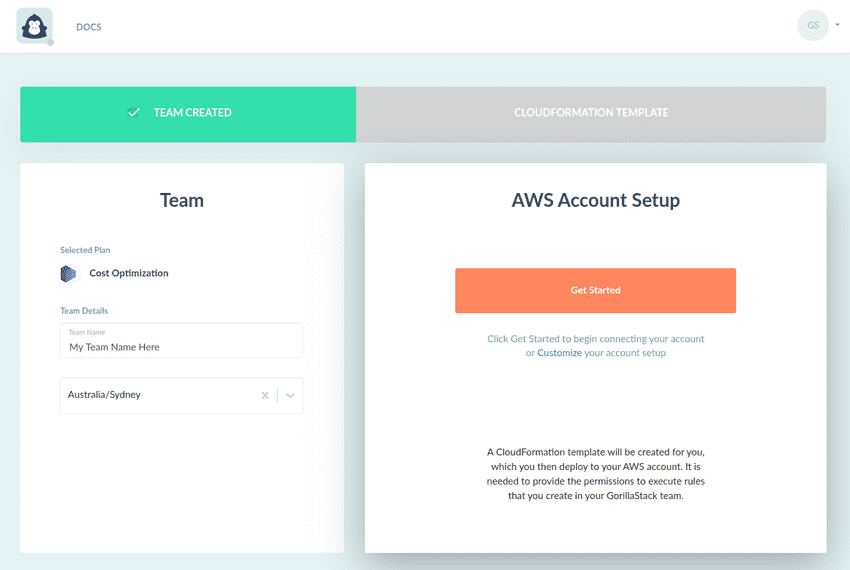
After successfully creating your team you will notice the AWS Account Setup pane becomes available. Click Get Started to begin connecting your account. For more advanced control, you can select Customize to exclude certain triggers and actions from being available for selection in Rules (see Customizing your Account Setup for more information).
2. Choosing a Preferred Account Setup Method
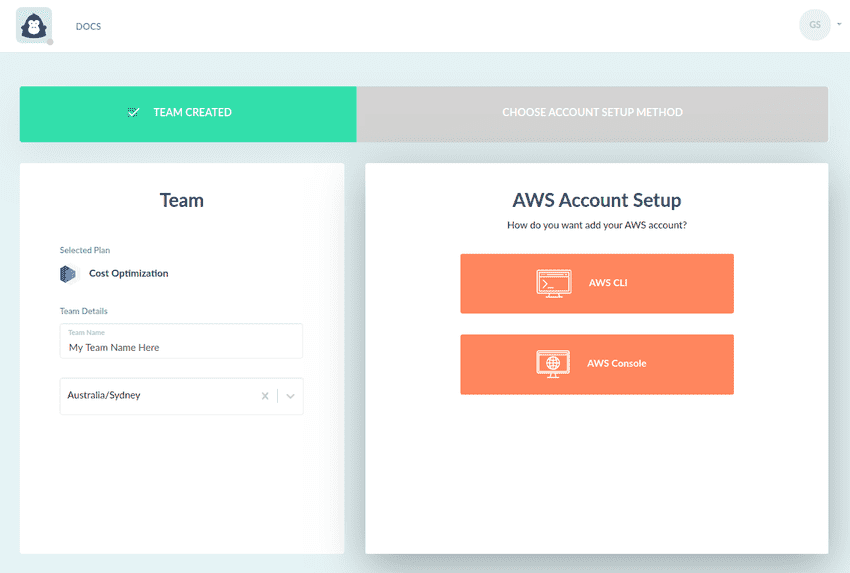
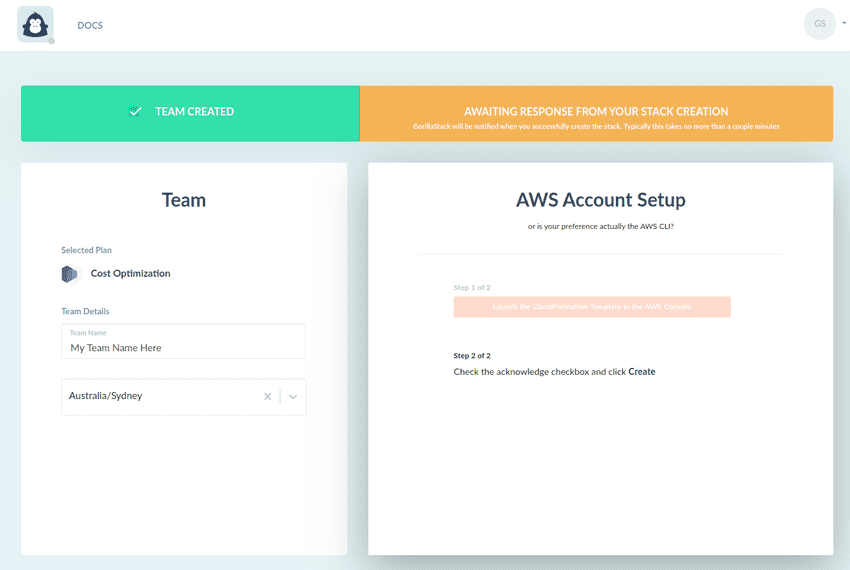
You will be prompted to choose your preferred Account setup method, via the AWS CLI or the AWS Console.
a) via the AWS CLI
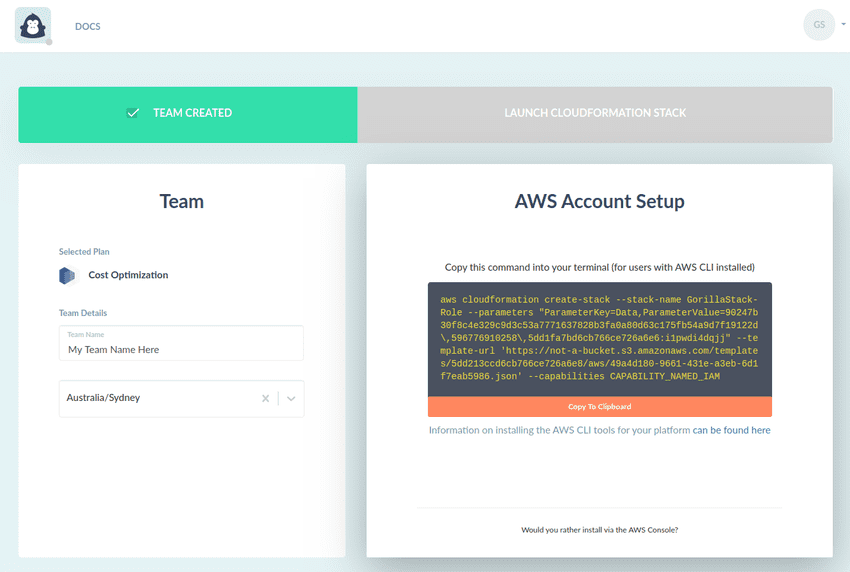
When clicking the AWS CLI option you will find a command that can be one-click copied and pasted into your command line to create the CloudFormation stack.
Before running this command you need to set up the AWS CLI for your AWS account, and/or have set the AWS_PROFILE variable to point to the correct AWS profile.
b) via the AWS Console
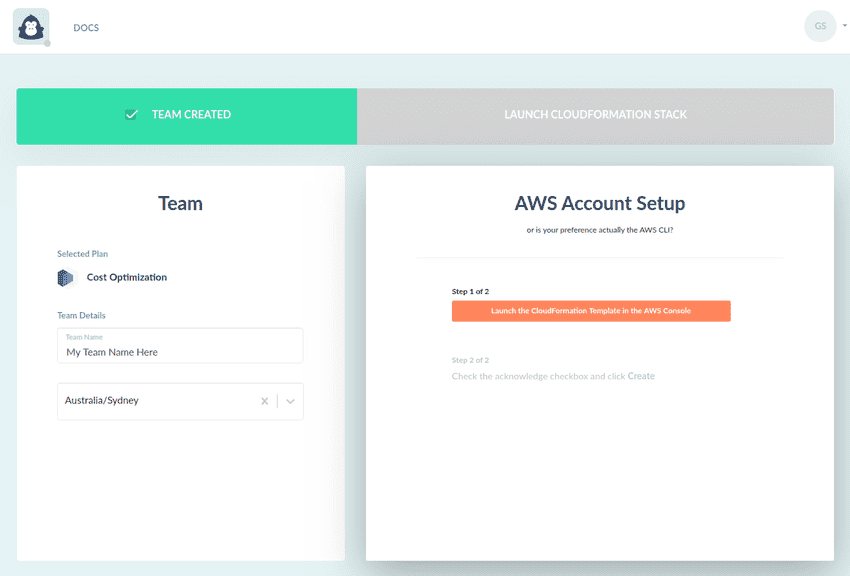
When clicking the AWS Console option you will see a button to Launch the CloudFormation Template in the AWS Console.
Click the button and kick off the stack creation from within the AWS console.
3. Waiting For Stack Completion
Once the stack has been created, the included Lambda function will post back to our API with the ARN of the AWS role that was created for cross-account access. When this comes through, we will redirect you to the Rule view.
